Winterizing Your Campervan: A How-To Guide
WANT TO KNOW THE BEST WAY OF WINTERIZING YOUR CAMPERVAN?
Whether you plan on storing your campervan for the winter season or using it year-round, it’s important to winterize a campervan’s key components to avoid damaging them. As the days shorten and the temperature drops, it’s time to defend your van against freezing temperatures.
The van conversion experts at Contravans have shared this “Winterizing Your Campervan” guide and some important tips and useful information to help you properly care for your campervan throughout the winter. Read below to learn why, when, and how you need to winterize your campervan.
Why Do You Have to Winterize a Camper Van?
Winterizing your campervan is not just an optional step for those planning to venture into colder climates; it’s an essential process for any campervan owner looking to protect their vehicle during the winter months.
The most important reason to winterize a camper van is to prevent any parts and components from freezing. This can cause broken water lines, loose fittings/connections, broken filters, and other damage to the water system in your van. It’s also important to keep your batteries as fully charged as possible to extend their lifespan. Extreme temperatures are hard on batteries, regardless of the battery chemistry type or brand.
When Do You Need to Worry About Winterizing Your Campervan?
The time to winterize your campervan will mainly depend on where you live. Any time the temperature drops below 40 degrees Fahrenheit, your water system (faucet, shower sprayer, water lines, water strainers, and water pump) could be at the risk of freezing.
In many parts of the country, it’s safe to say that you should start the process of winterizing your campervan in early fall, before the first frost sets in. If you live in an area with early or unpredictable cold spells, it’s wise to begin winterizing as soon as you notice cooler nights. The last thing you want is to find that a quick drop in temperature has left you with a broken campervan water system.
How Do You Winterize a Camper Van For Use in Winter?
Winterizing your campervan for use during the colder months requires careful preparation to ensure both comfort and safety. Here’s how you can make your campervan winter-ready:
Insulation
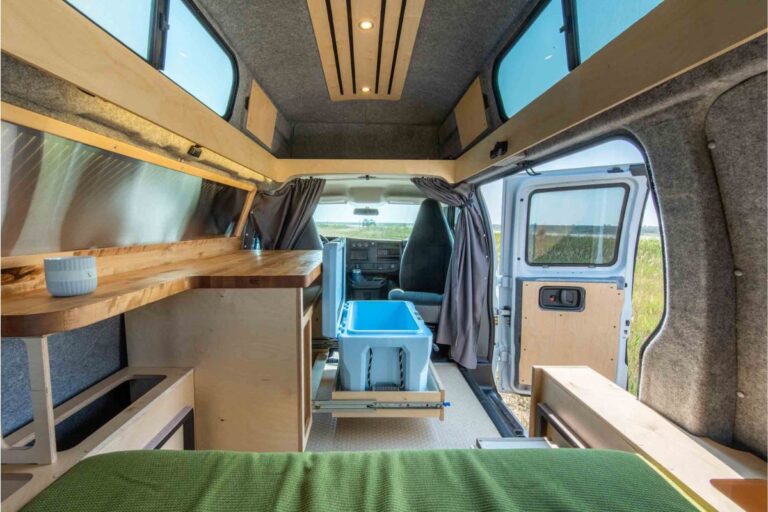
Proper insulation is key to keeping the interior of your campervan warm. Insulate the walls, floor, and ceiling using high-quality insulation materials like foam boards or Havelock wool. Don’t forget to insulate the doors and cover the windows, as they are common areas for heat loss. Weather stripping and thermal curtains can also be effective in minimizing heat escape.
If you’re at the beginning stages of your campervan build, insulation is a big part of winterizing your campervan and staying warm. Check out our blog post – Campervan Insulation Guide: What’s the best choice and why?
Heating
Something to consider if you already have a heater: Be sure to follow the advice of the owner’s manual and run your heater monthly throughout the year. This will keep your campervan heater in good operating condition as well as notify you if there are any issues before it’s too late.
You may also want to get your heater serviced before the winter months arrive. A little preventative maintenance goes a long way. At Contravans, we install and service Webasto, Espar, and Velit heaters. They are not difficult to maintain or fix if we catch them before they have a preventable malfunction. Check out out list of The Best Campervan Heaters.
Plumbing
Managing the temperature inside the campervan also plays a crucial role in protecting the plumbing. Keeping the interior of the van warm ensures that the ambient temperature around the pipes stays above freezing. This might mean running your heating system more frequently, but it’s a necessary step in preventing freeze-related damage.
Moisture Control
Moisture control is crucial step for winterizing your campervan. Cold weather increases the likelihood of condensation and humidity inside the van, which can lead to problems like mold, mildew, and an overall dampness in the air.
Use moisture absorbers or a small dehumidifier to keep the interior dry. Also, ensure your campervan is well-ventilated, and consider installing vents or roof fans if you don’t already have them.
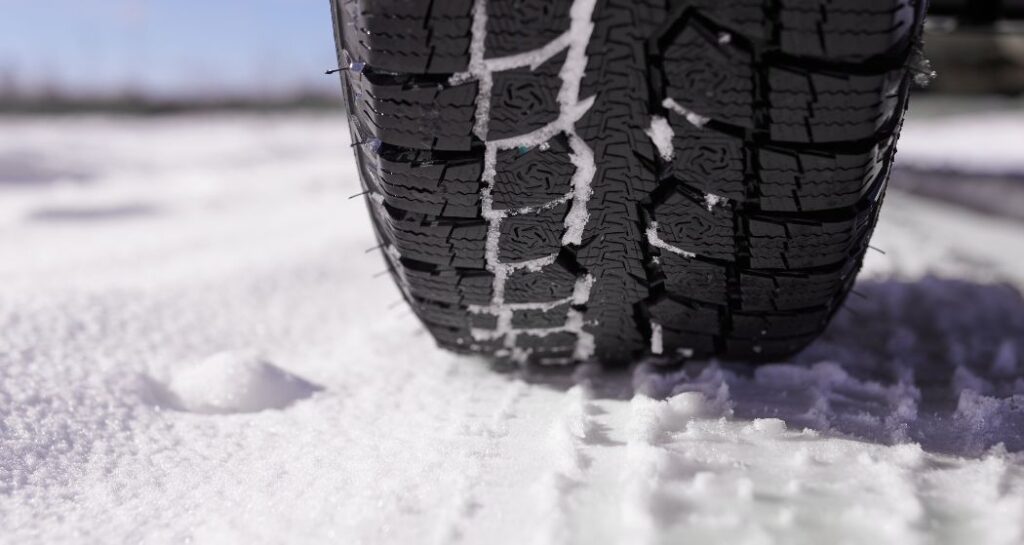
Upgrade Tires
Upgrading your tires for winter conditions is a critical safety measure when winterizing your campervan. Winter tires are specifically designed to perform better in cold, snowy, or icy conditions. This is crucial for stability and control in winter driving conditions.
If you’re traveling in areas with heavy snowfall or icy roads, consider studded tires for extra traction. Remember to check the tire pressure regularly, as it tends to decrease in colder weather, and maintaining the right pressure is essential for optimal tire performance and safety.
Clean Solar Panels
If your campervan is equipped with solar panels, keep them clean and free of snow and ice to ensure maximum efficiency. The lower angle of the sun during winter months can reduce solar power output, so maximizing light exposure is key. Avoid chipping at any ice build up or using hot water to clean them as the temperature difference can damage the panels.
Emergency Kit
Prepare an emergency kit including items like extra blankets, warm clothing, a shovel, ice scraper, tow rope, flashlight, batteries, and a first-aid kit. Also, include non-perishable food, water, and a portable stove or heater in case you get stranded.
How Do You Winterize a Camper Van For Storage in Winter?
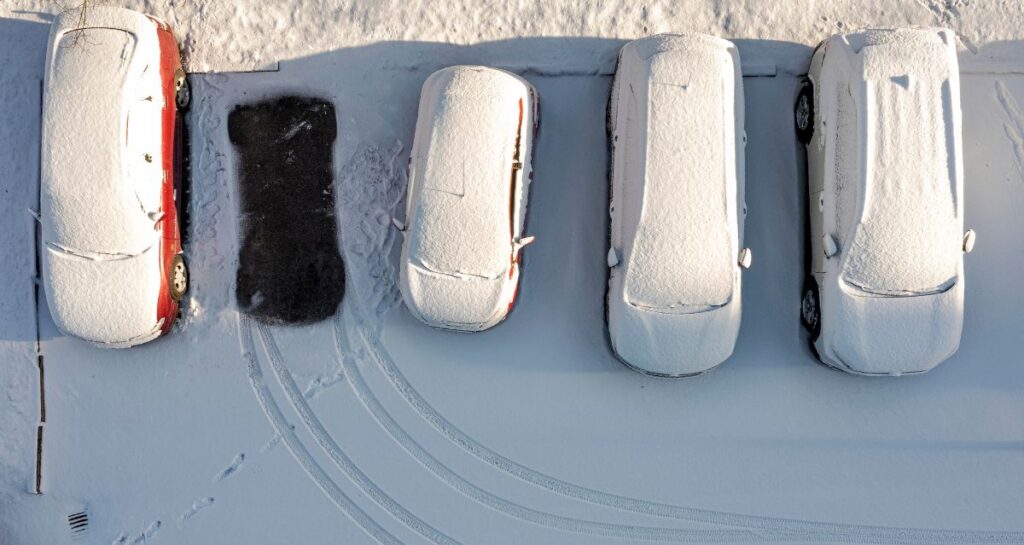
Properly winterizing your campervan for storage during the winter months is crucial to safeguard it from the cold and ensure it remains in excellent condition, ready for your next trip. Here’s a detailed guide:
Drain Water Systems
A frozen water system will leave you without running water (obviously) and with potentially expensive repairs. Here’s how to avoid having a problem.
- Empty your fresh water tank
- Turn on your water pump and open your faucet to run any water out of the lines.
- Once the water stops flowing, turn off your pump. Don’t run the pump without water in it for more than a few seconds.
- Lightly blow out the water system with compressed air. If you have a Contravans campervan, you will have an easy-to-access fitting that will enable you to get all of the water out of your system.
- Store your campervan with all drains, faucets, and/or spigots left open.
- Empty your grey water tank
- If you have a cassette toilet in your campervan, be sure to empty it too
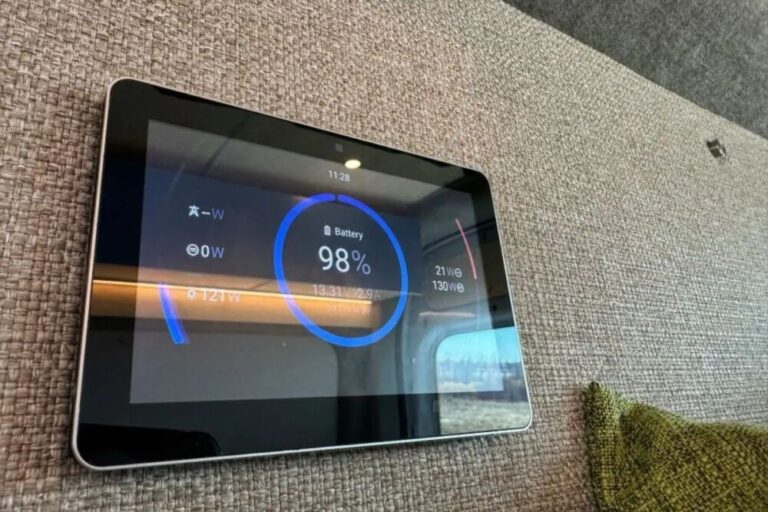
Care For Your Batteries
Winterizing your campervan batteries for winter is simple. However, we find most people don’t take it quite seriously enough. Here’s what you need to do if you are planning on storing your van for the winter:
- Charge your batteries to 100%.
- Turn off all of your electrical devices: lights, inverter, refrigerator, etc.
- Store your campervan in a cool, dry place, if possible.
- If you are parking outside where your van will get some sun, your solar panels will take care of keeping your auxiliary batteries charged.
- If you are lucky enough to have a spot to park your van inside, your solar panels will not be producing any power. In that case, we recommend putting a trickle charger on your starter battery and/or on your auxiliary batteries.
- Start your van at least once a month. This will be good both for your batteries and for the van itself. It will help prevent having any unforeseen issues the next time you want to use your campervan.
Note on Lithium Batteries: The Lithium batteries can be discharged in temperatures down to about 0 degrees Fahrenheit, but CANNOT BE RECHARGED when the internal temperature is below freezing. You will therefore need to warm up the vehicle (and the batteries) before you will be able to recharge them. In the case of a Contravans built campervan, our batteries have automatic internal warmers that will get the batteries back up to operating temperature as quickly as possible.
Protect the Engine
Be sure that all of your vehicle maintenance is up-to-date. This will ensure that you’re ready to go on another adventure as soon as the snow melts! A fresh oil change is never a bad idea. Follow your vehicles recommendations in terms of frequency and oil type. Also, ensure that your cooling system is properly maintained.
Ventilation
Even when stored, your campervan needs adequate ventilation to prevent the buildup of moisture, which can lead to mold and mildew. Keep a few vents open or cracked to allow air circulation. Consider using moisture absorbers or a dehumidifier inside the van to keep the air dry and prevent any dampness-related issues.
Disconnect Appliances
Ensure that all appliances within your campervan are disconnected, cleaned, and properly secured. This includes defrosting and cleaning the refrigerator, cleaning the stove and oven, and ensuring that all electronic devices are either turned off or completely unplugged. This prevents accidental battery drain and avoids the buildup of mold or unpleasant odors.
Wash and Wax
Give your campervan a thorough wash to remove any dirt, grime, or road salts accumulated over time. After washing, apply a high-quality wax to the exterior. This not only gives it a fresh look but also adds a protective layer against rust and corrosion, which are common issues during the damp winter months.
If washing and waxing isn’t for you, contact us about out detailing services including: full wash and detail, ceramic coating, paint protection film, and more…
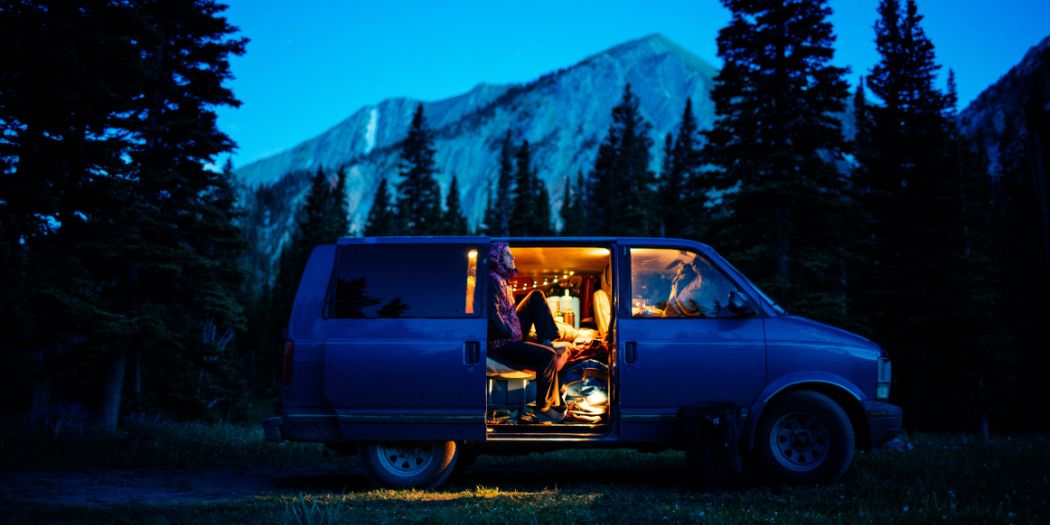
Tips to Use Your Winterized Camper Van During Winter
Using your winterized camper van during the colder months can be a wonderfully unique experience, offering snowy landscapes and cozy nights. However, to ensure your winter van life is as comfortable and safe as possible, there are several tips you should consider:

*Contravans is not responsible for damage resulting from improper campervan storage, maintenance, and/or winterization. This serves only as a guide to our basic recommended procedures.
FAQs: Winterizing Your Campervan
How to Winterize a Sprinter Camper Van?
Winterizing a Sprinter camper van involves several key steps:
- Drain and winterize the water system, including tanks and pipes, to prevent freezing.
- Insulate the van thoroughly, focusing on windows, doors, and any drafty areas.
- Check and replace the engine coolant with one suitable for lower temperatures.
- Ensure the battery is in good condition or remove it for storage.
- If using the van, install winter tires and ensure the heating system is functioning well.
You might be interested in: Transit vs Sprinter | Which is the Best Campervan?
Winterized Camper Van Conversion Examples
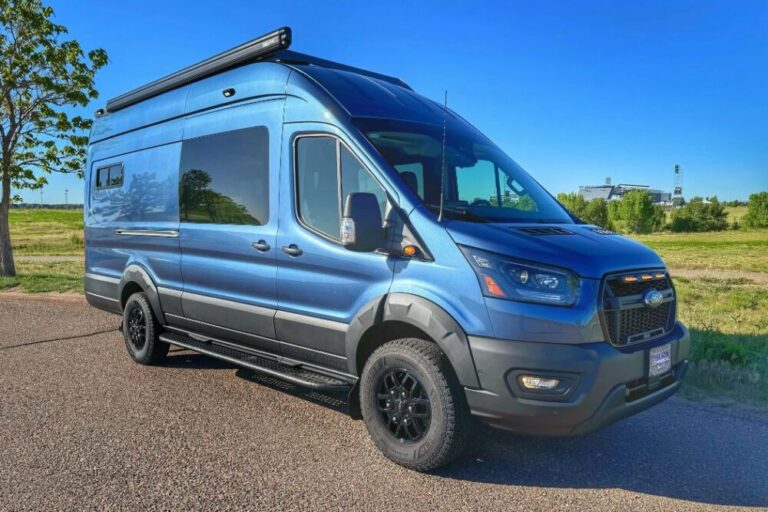
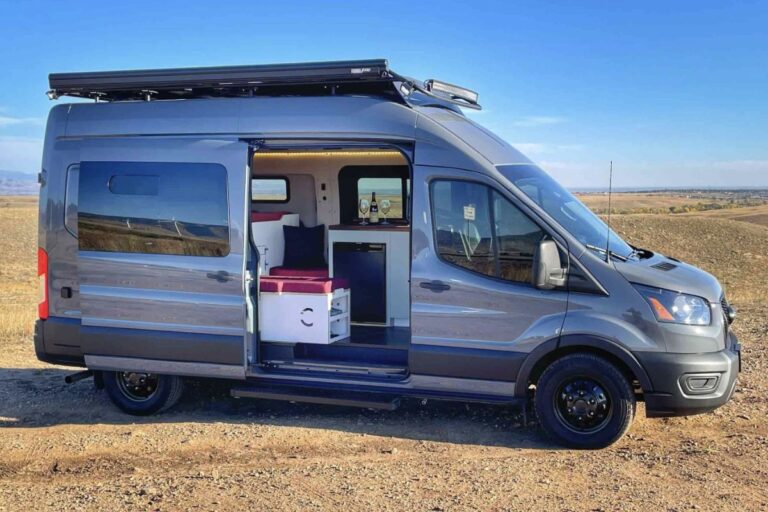
At Contravans, we have many examples of our winterized camper vans. Our conversions focus is on enhancing insulation in walls, ceilings, and floors, installing high-quality window coverings or double-glazed windows, and fitting robust heating systems like gasoline or diesel heaters. We also specialize in adding features like underfloor heating or heated water tanks for extreme conditions, and upgrading to winter tires along with thermal curtains for added warmth.
For a closer look at our winterized camper van conversions, check out our Gallery Here. If you have specific questions or need guidance tailored to your van, don’t hesitate to Contact Us Here at Contravans. We’re here to help you prepare your campervan for winter adventures, ensuring safety, comfort, and style.
Can I Winterize My Camper Myself?
Yes, you can winterize your camper van yourself. It involves tasks like draining the water system, checking the heating system, and preparing the engine for colder temperatures. There are numerous resources and guides available that can walk you through the process step by step.
How Cold Should It Be to Winterize a Camper?
It’s advisable to winterize your camper when temperatures consistently start falling near freezing at night (32°F or 0°C). Ideally, begin the winterization process in the early fall, before the first frost hits, to avoid any damage from sudden temperature drops.
Can You Winterize a Camper Without Antifreeze?
While it’s possible to winterize a camper without antifreeze by completely draining the water system, using non-toxic antifreeze in the plumbing is also an for additional protection. It helps ensure that any residual water in the system doesn’t freeze and cause damage. The only downside is that you’ll need to run plenty of fresh water through your system in the spring to be sure that it’s ready for you to use again.
How Much Does Winterizing Your Camper Cost?
The cost of winterizing your camper varies depending on whether you do it yourself or hire a professional, and the materials or services you need. DIY winterization can range from a minimal cost (around $50 to $100 for basic supplies) to several hundred dollars for more extensive preparations like insulation and heating upgrades. Professional winterization services can cost more, depending on the complexity of the work required.
Conclusion: Winterizing Your Campervan
Winterizing your campervan is a crucial step in ensuring it’s ready for the colder months, whether you’re hitting the road or storing it for the season. This process not only protects your investment from winter’s harsh conditions but also guarantees your comfort and safety. From insulating the van to taking care of the plumbing and engine, each action you take contributes to a smoother and more enjoyable winter experience. Remember, a well-prepared campervan means peace of mind, allowing you to fully embrace the joys of vanlife in winter. With the right preparations, your winterized campervan can provide a cozy and secure base for all your cold-weather adventures.
Looking for expert help or inspiration for winterizing your campervan? Check out Why You Should Choose Contravans. We offer a wide range of winterization services and examples to suit your specific needs. Let us help you transform your campervan into the perfect winter getaway vehicle.
You might also be interested in:
The Best Heaters for Campervans
What is the Best Van to Convert to a Camper Van?
Professional Van Conversion Cost
The Best Rooftop Air Conditioner For Van Life
Mercedes Sprinter Van Lift Kit: Complete Guide